Nursery Rhymes

We’ve done so many winter related crafts lately that I’m finally getting a bit sick of it, by chance my daughter picked ‘the three little pigs’ book at the library and it was the perfect inspiration for a nursery rhyme themed week.

We read and sung a variety of rhymes but focused on the three little pigs, three little kittens and humpty dumpty.

Three Little Pigs

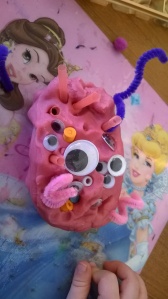
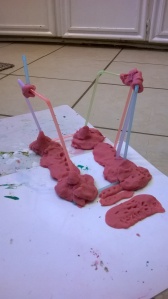
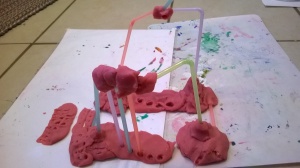
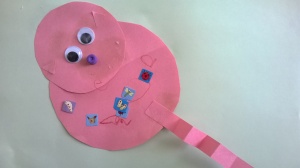
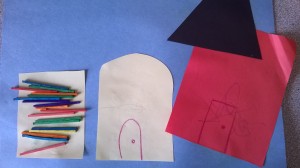
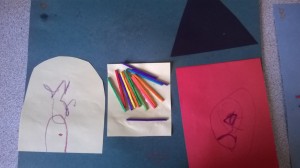
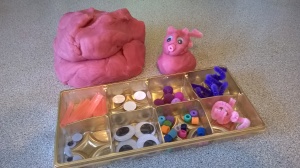
We had a blast building homes and little pigs with pink dough and a variety of beads, googly eyes, straws and twirled pipe cleaners.


WP_20140324_002 WP_20140324_003 WP_20140323_001 WP_20140323_002


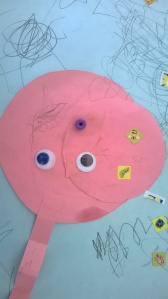
Here are some more ideas, a paper plate pig with googly eyes and an old bottle cap nose, a circle pig, and three little houses (straw, sticks and bricks).


WP_20140327_003 WP_20140325_006 WP_20140325_004


WP_20140327_002 WP_20140327_001

Three Little Kittens

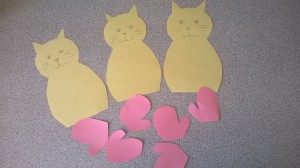
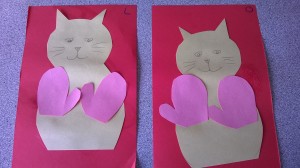
For the three little kittens we did two activities.  The first being a fun craft with a drawn kitten who needs mittens- the children glued the mittens on for the kitten.

WP_20140331_005 WP_20140401_009

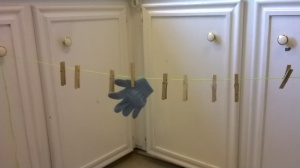
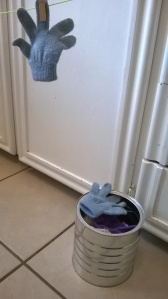
The second we pretended to be kittens hanging our mittens to dry.  For this you will need a length of rope, clothes pins and mittens.  I hung the rope across my kitchen and attached the ends to the cupboard door knobs.  I filled an old coffee tin with mittens and filled the rope with clothes pins.  Grasping the pins and actually attaching the mittens to the rope was quite difficult for the toddlers and so they lost interest pretty fast, but the baby loved pulling all the mittens that I hung off the rope.

WP_20140401_002 WP_20140401_003

Humpty Dumpty

This rhyme was fun to work with.  We did a few activities where we put humpty together again and the kids seem to enjoy that they could do it though in the rhyme all the kings horses and men could not.

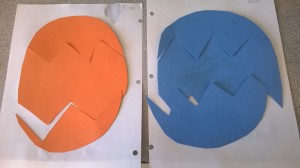
With some old poster board I created egg shapes and then cut them into pieces for a puzzle.  For my group I did two big zig zag cuts to make them easy, you could make many smaller pieces for older children.  We played with them for awhile and then glued them completed to a paper to send home.

WP_20140403_001

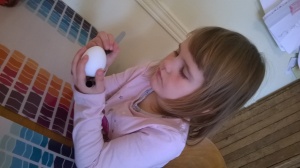
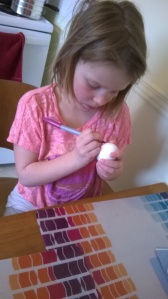
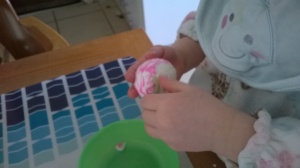
We also had a humpty dumpty snack- he didn’t get put back together this time.  I boiled some eggs and once cooled had my girls draw on faces with sharpie markers.  For lunch the following day I got all the children to break their humpty’s and then peel him and eat him, they found this amusing too.

WP_20140401_013 WP_20140401_012 WP_20140402_002

Nursery rhymes are such fun whether you are crafting as above or snuggling and reading together.


Fun do (fondue)

This past week was march break and I wanted to make it special for the girls, especially since my daycare was closed so I could be with just them.  On the first day I let them over do it a bit on candy but I still wanted to have a fun dessert and this made me remember something my sister and I did as children.  We would melt down our extra Easter bunnies and make fondue.  Of course at the time we didn’t know about fondue, we thought we were genius using our extra bounty in such a way.

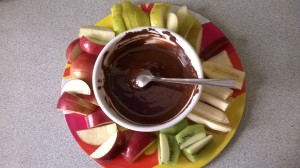
As a surprise I made the same for my girls.  We don’t have Easter bunnies to use yet but I do have chocolate chips.  As a child we would just microwave our chocolate, now I don’t own one so I heated water in a pot and put a bowl of chocolate on top.   No you don’t need a fancy fondue pot, at least not for this idea.

WP_20140314_001


Cut up a variety of fruit to dip and anything else which may taste great wrapped in chocolate.  Now sit back and enjoy!

WP_20140314_003


The girls were thrilled and I got to share a fun memory from when I was a little younger.

Super Heroes

Is it a bird?  Is it a plane?

We recently had march break and I wanted to do an activity which would interest all the age groups that would be in my home..so super heroes.  Though I don’t think the youngest have had any exposure to super heroes I figured the activities would interest them none the less.

Hero Mask

WP_20140312_022 WP_20140312_023

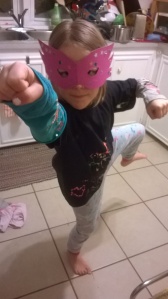
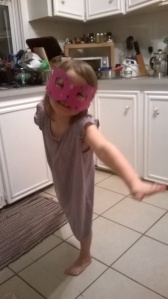
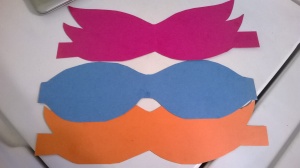
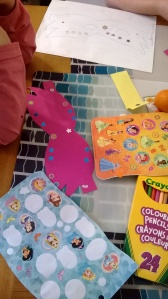
For this I free hand drew some mask shapes on poster board and had the children decorate with stickers and markers.  Once they were done we tied a ribbon to each end so that they could wear them around the house.

WP_20140310_001 WP_20140310_002 WP_20140310_003

Hero Wrist Cuffs

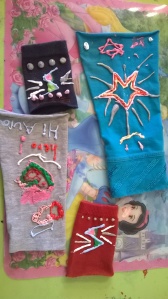
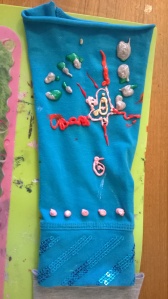
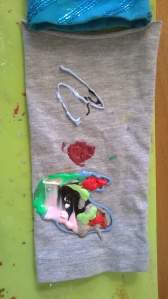
WP_20140312_002 WP_20140312_003 WP_20140312_005

I have tons of leggings with holes which cannot be fixed so I chop the bottom part of the leg and save it for crafts such as this.  You could also use old socks or toilet rolls.

Their first attempts were either just blobs of paint or a copy of the one I did (red) but once they started their seconds they really took their time and planned their designs.  I haven’t seen my girls so engrossed in a craft in quite a while so I guess I finally nailed it with this one.


Spa at home with the kids

Awhile back I was invited to a spa night with the girls.  My friend arranged her home to have little stations through out where one could do a facial, mani/pedi etc, she dimmed all the lights and we made our way around while chatting and relaxing.  It was lots of fun and turned out to be a well needed relaxation session for myself.

I’ve done the girls nails before and we’ve experimented with scrubs and such but never have we combined it all for one special hang out.  I thought it was time so I adapted my friends idea and being march break we didn’t need to worry about how late it went or how much mess it made.

WP_20140312_007


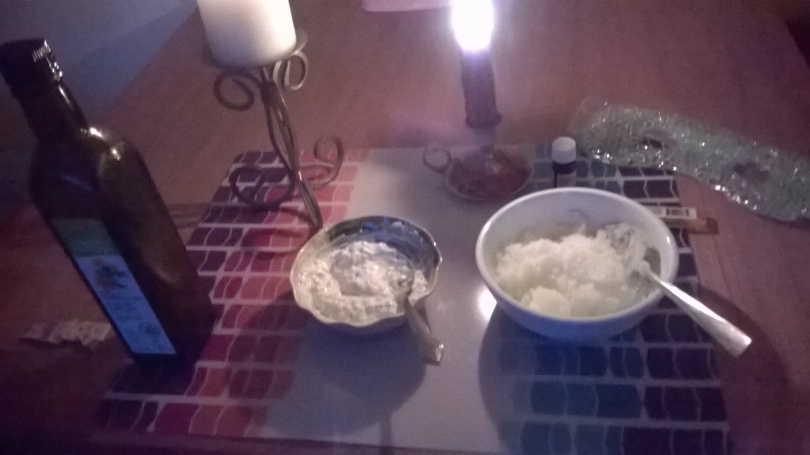
We didn’t get too fancy but thought I’d give it a bit of a grown up feel for the girls-hence the candles.

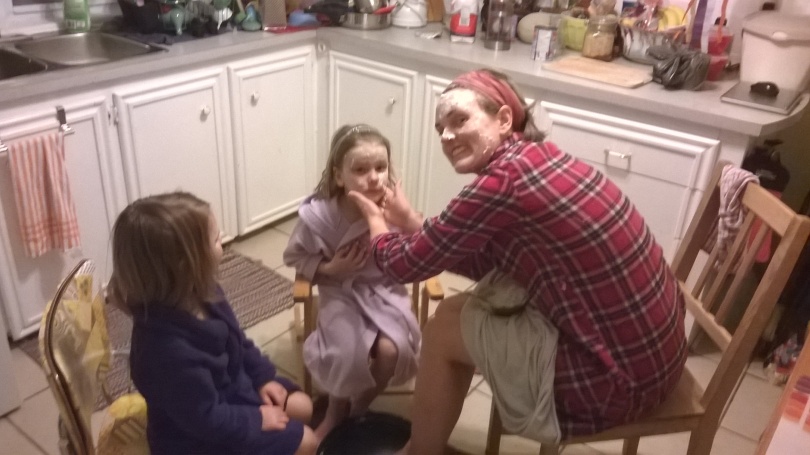
Shown above is our mask (plain yoghurt and oats), and a foot/hand scrub (white sugar, safflower oil and a few drops essential oil), and my gel eye mask (recently refrigerated).  Everything is really easy to make and you likely have it at home, which is what I was going for.  To make your own items just combine the ingredients listed till you get your desired consistency.  I wanted to show my girls that you don’t need make up and expensive store bought products that are harmful to ourselves and the planet, its just as fun with household ingredients.   They both noticed how soft their skin was after the treatments and how it actually healed some of their chapped skin.

WP_20140312_009

(you might be wondering what’s with her eyes?  I allowed them to put on temporary tattoos for March break, these ones give them a cat eye look)

WP_20140312_016

I also filled a large pot with warm water and essential oil to soak our feet in.

We sat in a circle and soaked/relaxed and laughed.


Activities for budding Veterinarians

In conjunction with our love and bucket filling activities of the past few weeks we recently did a caring for animals theme.  We set up an animal hospital and took turns being doctors and patients, bandaged paper animals and did a simple matching game.

Animal Hospital Sign

As a team the kids decorated their own sign for the hospital.  I laid out a large piece of paper with crayons and markers and then I added the final touch (which is animals cut out from my old telus calendar).

WP_20140224_001 WP_20140224_002


Animal Hospital

This was a lot of fun.  We hung up our sign and everyone was so proud.  Next we set up a few chairs for the waiting room and a small table covered in a sheet with a pile of tools set beside.  Everyone wore one of my collared shirts as their lab jacket.  We then got to work checking out all the animals and applying real band aids where needed.

WP_20140225_004 WP_20140225_003 WP_20140225_005


For my girls who can read and write I made pretend forms for the doctors to fill in and a clip board to work on.  Next time I think I will give them a list of medical terms so they can fill the forms properly and of course learn how to spell the words.

WP_20140224_003


Bandage Craft

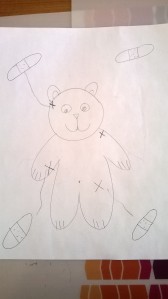
This was lots of fun for the kids and great exercise for their little hands.  I found some animal colouring pages at activity village  and then put some Xs to mark the spot where the bandages were needed, I also gave them tiny stickers to put on the bandages.


WP_20140225_009


Matching Activity

For this I quickly drew an animal and again marked it with Xs but this time I drew band aids on the surrounding paper and had the kids draw lines to link them.


WP_20140228_001


Have fun!

Have you filled a bucket?

A few years back I purchased the book Have you filled a bucket today? by Carol McCloud and I loved it.  It really helped my girls to understand how our actions can positively/negatively effect others and themselves by their actions.  When I feel attitudes are getting out of hand I’ll pull the book out for a reading.  After Valentines day I decided we would continue learning about love and good feelings by focusing on this book and some related activities.

Fill a Bucket Painting

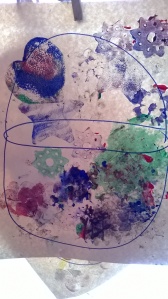
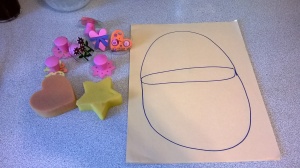
I drew a bucket for the children and gave everyone some paint and flower/star/heart sponges and stampers- we then filled the buckets with love and talked about things we can do to fill the buckets of our family and friends.

WP_20140219_002 WP_20140219_005


Colour Matching Happy/Sad Faces

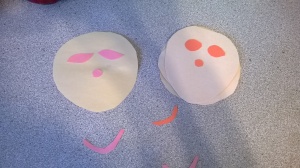
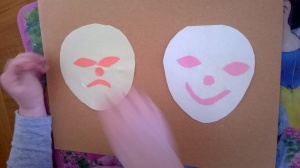
For this activity I cut out eyes/nose/mouth of different colours and had the children match the correct coloured features, it was their decision if the face was to be happy or sad.  It was fun matching the colours and placing the facial features in the correct spots.


WP_20140219_004 WP_20140219_006


Have you filled a bucket today?

Happy Valentine’s

I don’t over do the holidays around here but it is fun to do a little something.  We’ve worked on a few activities and will be having a special pink meal for dinner, and since I’m done work early we will likely fit in some skating at our local park, nice and simple.

Valentine’s Sensory Experience/Pretend Sundaes

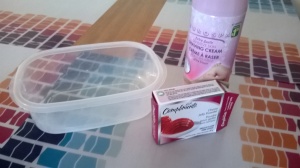
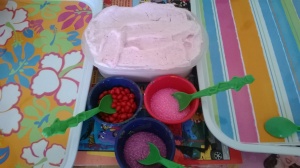
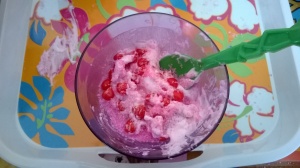
So for this activity you’ll need a deep container, shaving cream, jello powder (or food colouring) and any left over sprinkles you can find.  A few hours/night before fill your container with the shaving cream and jello powder- mix and freeze.  The mixture will look like ice cream and smell fruity.  I set out a few little dishes of left over sprinkles and candy hearts and gave each child a dessert bowl and spoon.  Then let them scoop and create, mix, smell and possibly feel.  The kids had a blast mixing their concoctions and cheersing each other.

WP_20140212_001 WP_20140213_001 WP_20140213_003

Eyedropper Art

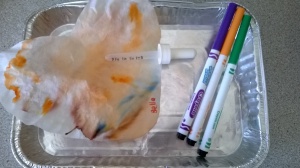
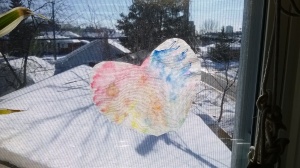
Cut some coffee filters into a heart shape, colour all over with markers and then use an eye dropper and water to create the effect shown below.  It’s fun to see the colours mix and bleed together and if you hang them in the window they make beautiful sun catchers.  It is also a great fine motor activity for the little ones.

WP_20140211_006WP_20140211_007WP_20140211_008


Easy Beaded Necklace

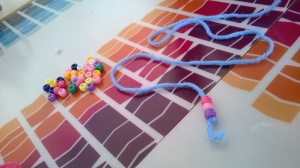
For a quick quiet time activity I set up a little necklace making station.  I cut some length of wool and knotted one side and taped the other to make it easier for stringing, put out a little pile of beads and then let the kids get to work.  It made a really cute gift for mom and they got to work on their patterning and fine motor skills.

WP_20140212_002


Pink Valentines Meal

I made this for yesterday’s daycare lunch and it was a hit and so I will be repeating it for my own girls tonight.  I made pink apple sauce, pancakes and yogurt- and no its not food colouring.

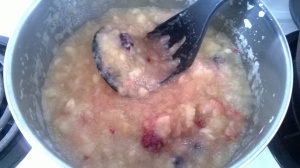
To make the apple sauce peel and core about 6 apples (use a variety) and cut into chunks- then heat on med with just enough water to cover them till they are soft.  Next add a handful of berries- I used frozen but I imagine fresh would be ok too.  Let the mixture sit long enough for the berries to thaw then strain off the excess water and mash.

For the pancakes I just replaced some of the liquids from my favourite recipe with shredded beet (about 1 med beet for a double batch of pancakes).  Unfortunately after they have cooked the colour seems to fade, but the inside is still pretty pink.

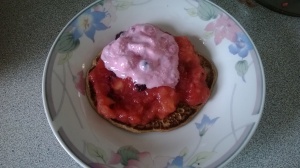
Lastly for the yoghurt I mixed some frozen berries with plain yoghurt.  To serve it I layered the three items as shown below.

The picture doesn’t do the meal justice- it really was a pretty pink sight and tasty too!

WP_20140213_010 WP_20140213_013


Happy Valentine’s Day!


Heart Envelopes

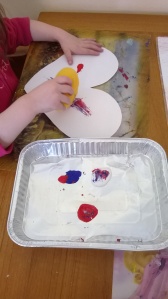
We’ve started preparing for Valentines and what’s better then a home made craft from your kids?  Not much.  I love when the girls make me things at school, even the simplest note makes my day so I had the daycare gang make these beautiful paintings for their parents.

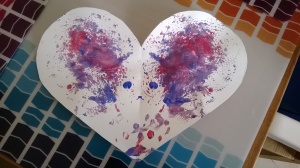
WP_20140210_001 WP_20140210_002


I started by giving the kids a tray with paint, a sponge and a heart shaped piece of paper.   I used blue, red, and white paint so they could see what happened after mixing them together.  Each piece ended up being different as some mixed the paints more, some used their hands and the one above only painted one side so we folded it over for a nice symmetrical look.  After the paint dried I signed their names and folded them into envelopes.
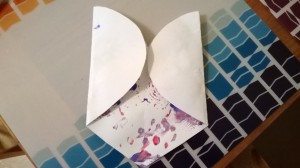
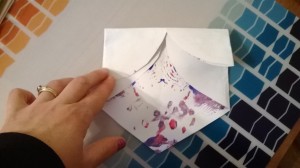
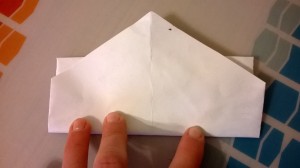
To fold: start by folding the round parts to the middle, then fold over the rest of top to the middle, fold again and you’re left with only the point- fold it again and seal the envelope with a sticker.

WP_20140211_001 WP_20140211_002 WP_20140211_004 WP_20140211_005

Pretty cute, with a nice surprise inside!

Marshmallow Towers

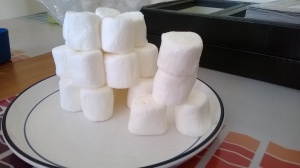
I’m not a huge fan of marshmallows but we often have a ton left over after the summer- I don’t want to deny my children the kind of camping trips I had as a child so we roast a few and then aren’t sure what to do with the rest of them.  Of course there is hot chocolate but again I don’t like to over do it, thus marshmallow towers.  It turns out the girls have done this at school too and so were pretty excited to show me their techniques.

WP_20140208_001 WP_20140208_005 WP_20140208_003 WP_20140208_002

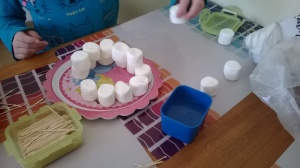
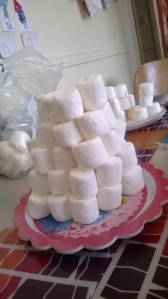
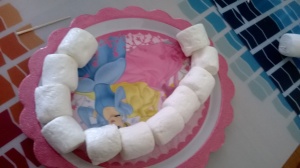
Give each person a plate/tray, a pile of marshmallows, some water and toothpicks.    The marshmallows can be connected with the toothpicks or by wetting them and sticking them together. (watch out for sneaky eaters though, my youngest downed a bunch and ended up with a tummy ache later that night)

My youngest immediately went to work creating a row of marshmallows attached with toothpicks which she then manipulated into different shapes and letters.  My eldest started with a tall tower held with toothpicks and then realized it had no stability so she had to start again.  I worked alongside them and attempted an igloo and inuksuk, as my daughter watched me she too began a similar design testing out where the best spots were to put the next marshmallows and working till completion.  The structures ended up being pretty solid, those that used the water method were pretty stuck together.

It turned out to be a very fun and educational activity, plus a great way to use up unwanted marshmallows and spend some quality time together.  Happy building!

Happy Year of the Horse

Chinese New Year

This is my first time celebrating Chinese New Year, I’ve heard people in the past state which animal they are from the Chinese Zodiac but that was about it.  I grew up in a small town which was pretty culturally barren and so I hadn’t learned much about it till now.  My children are celebrating at school and have been in preparation all week so I figured I’d do a little research and celebrate with the children in my daycare.

We’ve kept it pretty simple by focusing the celebration on craft making and we’ll have a special snack after school.

Chinese Lantern

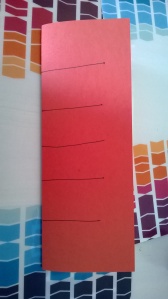
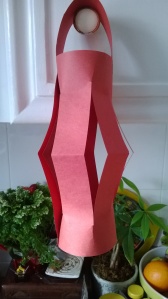
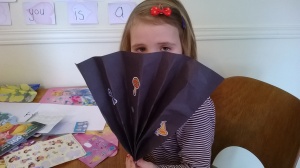
This is a simple but fun craft and of course a beautiful decoration for the celebration.  Take a piece of construction paper and fold it long ways- then mark cut lines.  Have the kids decorate the paper and cut on the lines.  Open it up and create a tube shape with the cuts running top to bottom, staple or tape the tube together and attach a strip of paper/string/pipe cleaner at the top for a handle.  Mine is pretty simple but you could add stickers or glitter to really make it shine.

WP_20140128_002 WP_20140128_001


Fan

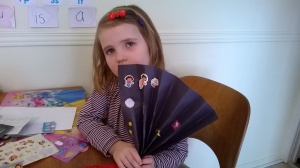
Fans are always fun to make, I often find them all over the house.  Take a piece of paper and fold about 1″ over, turn the paper over and fold again, continue folding/flipping/folding till you reach the end of the paper.  Now gather the paper at one end to create a fan shape and either staple or tape it together.  We put stickers on our fans once done but really you could decorate them with anything, watercolour painting I imagine would look beautiful.   (My daughter chose Dora stickers- not really Chinese New Year material but it is her fan)
 

WP_20140130_004 WP_20140130_003


Cardboard Fancy Horse

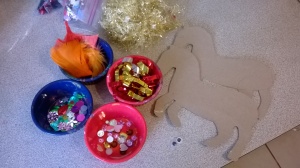
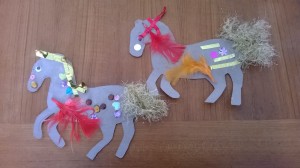
For this craft I used old cereal box and did my best to free hand a horse shape.  After cutting them out for the kids I set up a grouping of shiny/sparkly things from our craft cupboard (jewels, feathers, ribbons etc).  I also hole punched a spot for a tail and used this sparkly gold floss (I tripled up on the floss and then tied it to the horse).  I think they turned out really well, even my unhappy crafter couldn’t stop decorating this one.


WP_20140129_001 WP_20140129_002


We also did some coloring pages and puzzles found over at Activity Village and they have a great description of Chinese New Year for those of us new to the event, plus tonnes of other ideas.

Happy Year of the Horse!